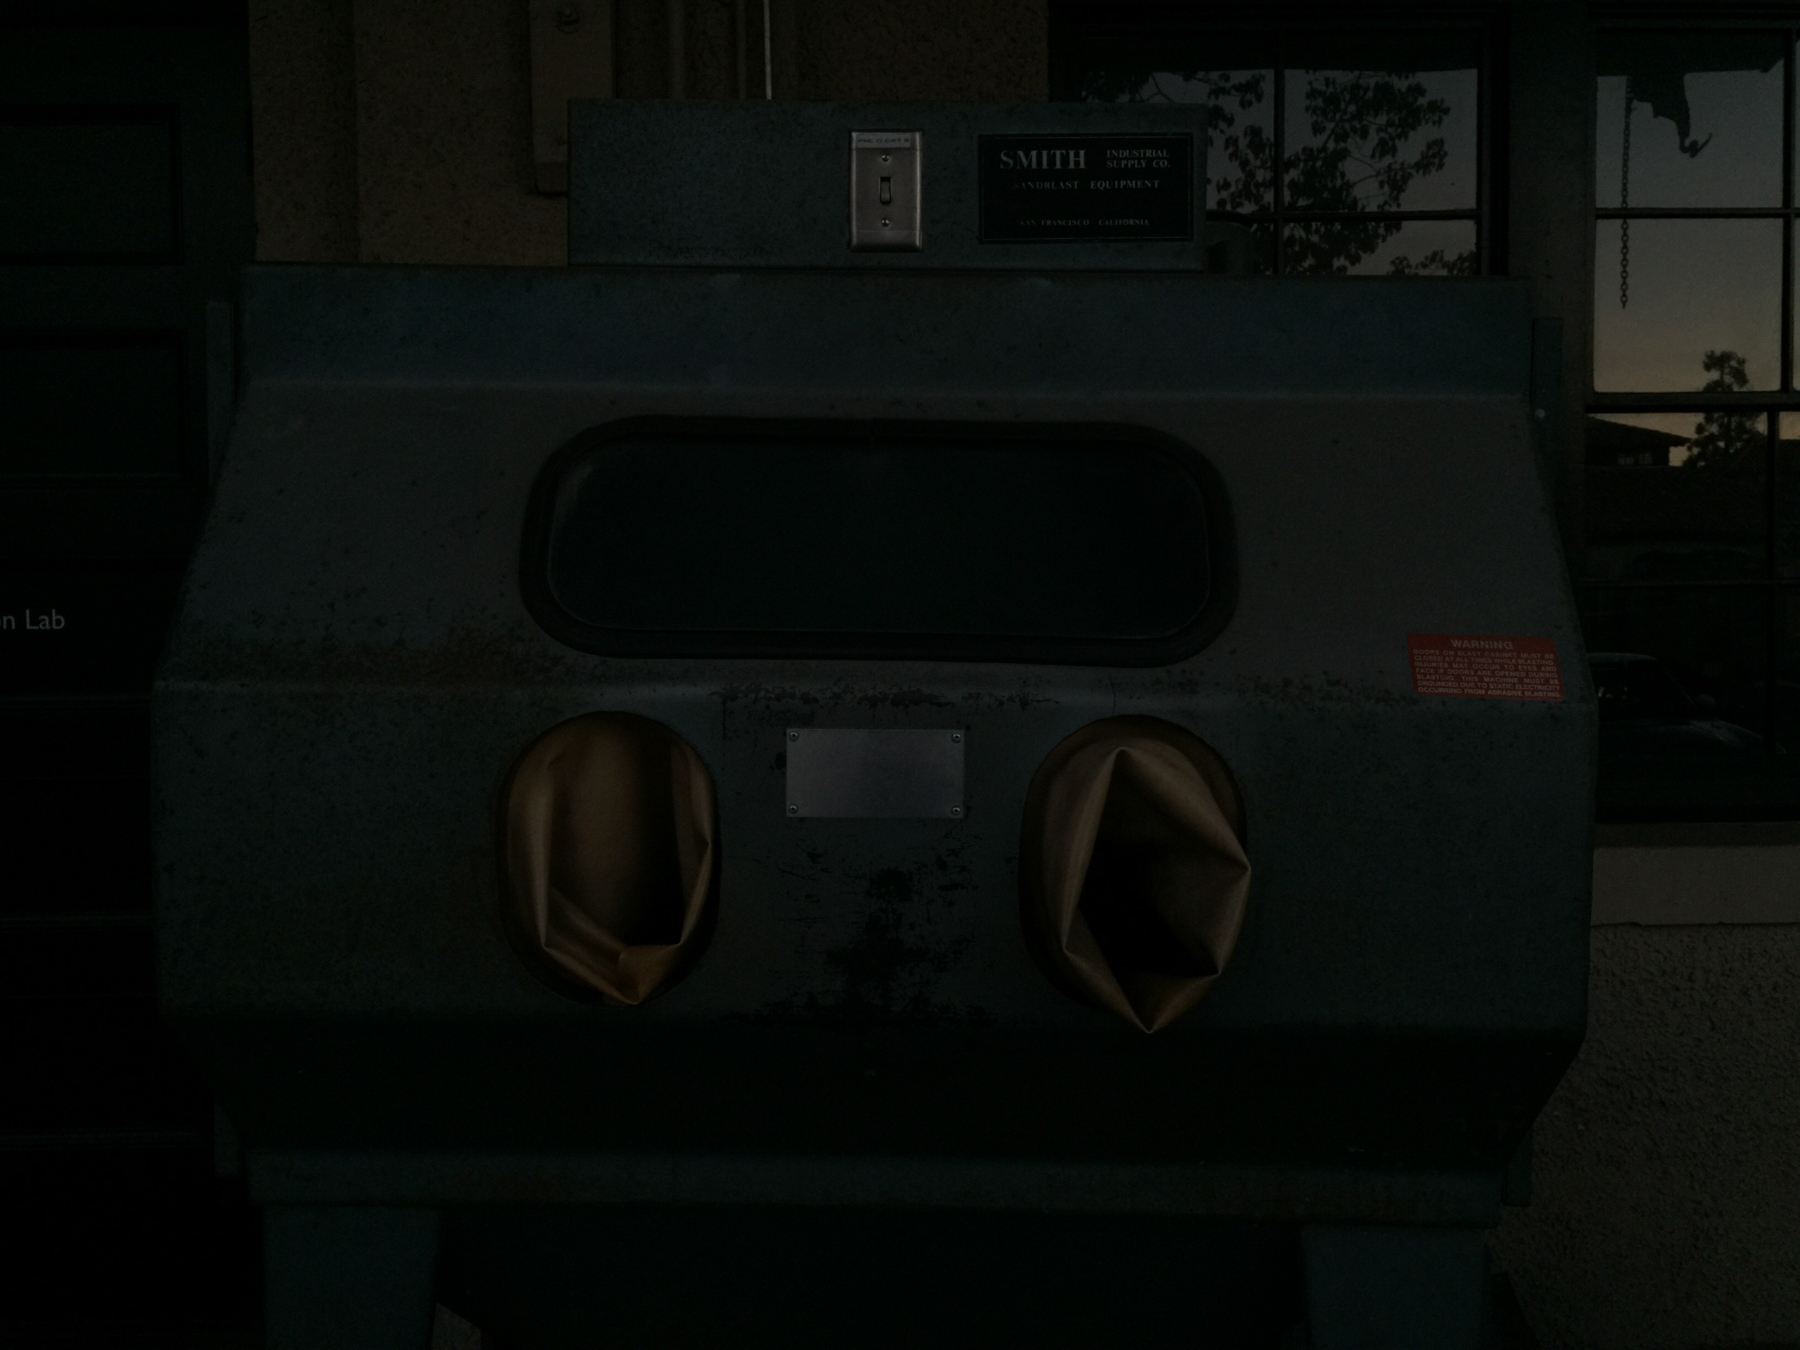
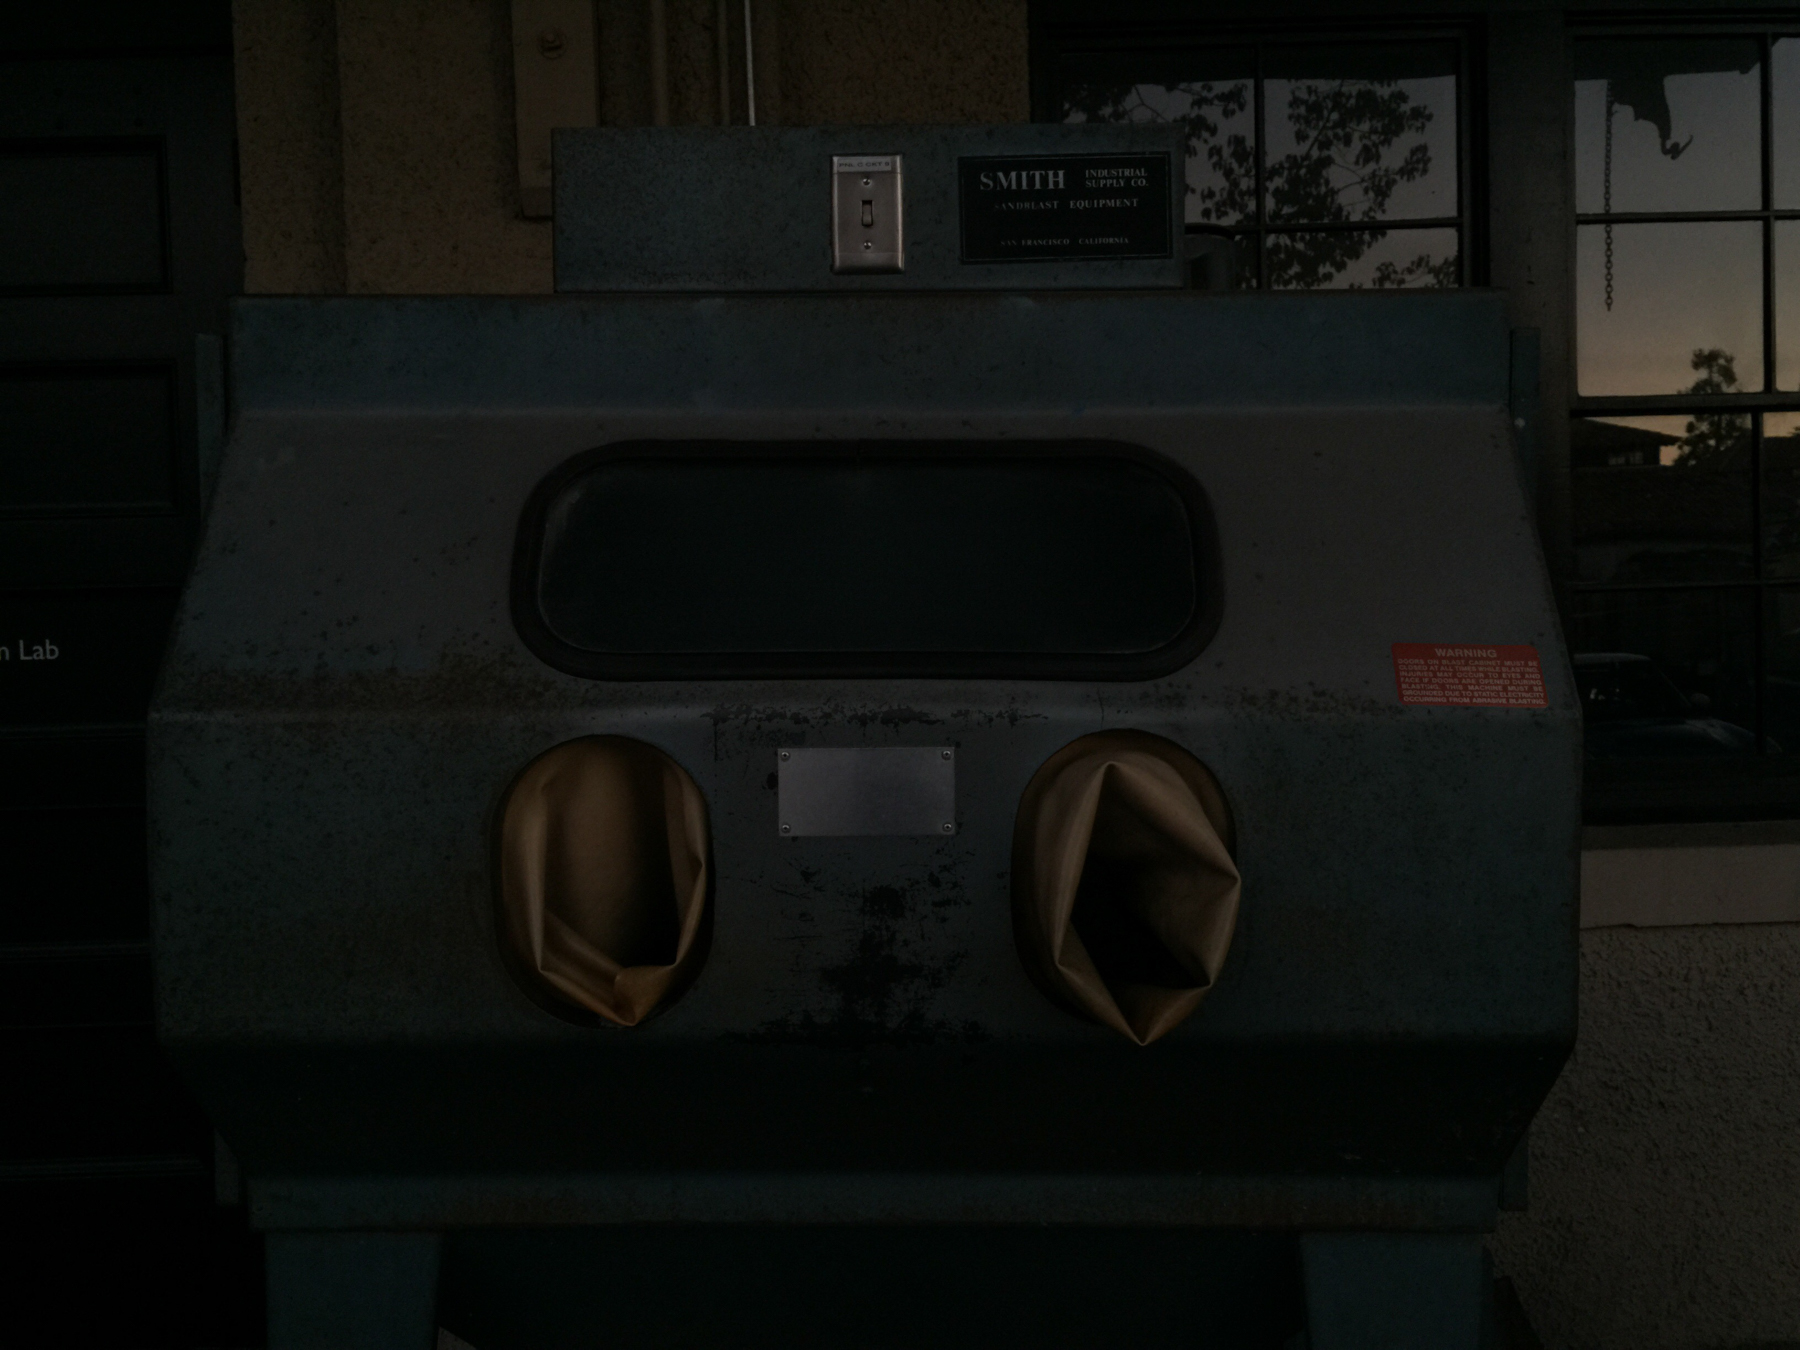
When it comes to photography there is a lot to like about the iPhone 6 Plus. Yes, the screen is amazing. Yes, the auto-focus is much faster. However, the real gem for me is the ability to take high quality shots in low light thanks to an optically stabilized lens and the ability to manually adjust the camera’s ISO and shutter speed.
As soon as I got the phone, I wanted to see just low much image quality I could squeeze out of an image by manually keeping ISO levels low and shooting hand held at slow shutters speeds.

Why Low Light iPhone Photos Used to Suck
Prior to iOS 8, there was no way to manually control the ISO or shutter speed that the camera used for exposure. This wasn’t a huge deal when the light was good, but in low light situations it tended to create very noisy photos. The reason for that was iOS’s automatic exposure algorithm, which simply put, was paranoid about producing blurry photos. To avoid potential blur introduced by the shaky hands of the photographer, iOS would raise the ISO level in order to properly expose the photo using a reasonably fast shutter speed. In short, the exposure algorithm optimized for high shutter speeds at the expense of image quality and noise.
Hello Manual Exposure
Sometimes shooting photos at high ISO levels is the right thing to do but often the sacrifice of image quality that comes along with it is unnecessary. This is especially true if your subject isn’t moving or you can hold the camera very still. You would be shocked at how much noise you can avoid introducing into a photo by just lowering the ISO and shooting at a slower shutter speed. This is where manual exposure controls are necessary and thankfully camera app makers are beginning to add these manual controls into their apps. I’ve been using a new app called (wait for it…) <a href=”https://itunes.apple.com/us/app/manual-custom-exposure-camera/id917146276?mt=8″>Manual</a> which is a very simple camera app with manual exposure controls. This app now lets me make image quality trade-offs just like I do with other cameras by allowing me to manually set the ISO level and shutter speed (aperture of the iPhone 6 Plus lens is fixed at f/2.2).
How Low Can You Go?
When it comes to shooting a camera hand held at slow shutter speeds some skill/technique is required. The slower the shutter speed, the more technique is needed to avoid introducing blur into the photo due to shaky hands. Just how much technique is needed differs photographer by photographer and camera and camera. For example, I can safely hand hold my Phase 645DF medium format camera down to 1/30 of a second and my Sony RX1 down to 1/20. Knowing how low you can go is important to making quick decisions about exposure when out shooting. That’s why it’s always one of the first things I determine whenever I acquire a new camera.
So once i got my iPhone 6 Plus, i naturally wanted to see how low a shutter speed I could use and still get a reasonably sharp hand held shot. Here’s what I found out. The photos below were shot using the iPhone 6 Plus and the Manual Camera app. No post processing or sharpening has been applied.

No issues at 1/30 of a second. I could casually hold the camera at this speed and get consistently sharp shots.


At 1/15th of a second, auto-focus started to take a little longer than normal. I didn’t feel the camera grab focus like i did at 1/30th. Shot turned out sharp but I took another at a slightly higher ISO to see if that would improve the auto-focus. Hard to tell if it helped.

At 1/10th of a second, autofocus really started to slow down but once it finally grabbed focus, the shot came out much sharper than I expected. I took a few more just to be sure it wasn’t a fluke and the results were the same.

At 1/8 auto-focus took several seconds to grab focus. Shot is just slightly softer than at 1/10. I’m concentrating on remaining very still at this shutter speed.

At 1/4th of a second, autofocus is really struggling to grab focus and it was hard to tell when it did. I took several shots and about a third were in focus. I think this had more to do with not knowing when autofocus was done focusing than the shake caused by slow shutter speed. Again the image is slightly softer than the one shot at 1/8th but still it’s very usable.
There are more tests I’d like to do, but so far I’m very happy with the results. To sum this all up, shooting the iPhone 6 Plus at 1/30th of a second or higher is a no brainer. I wouldn’t even think twice about it. If you concentrate on your technique you can get very sharp shots down to 1/8th of a second. You can even pull off a reasonably sharp shot at 1/4th of a second if you have some patience. The lower you go in term of shutter speed, the more still shooting technique is required. If you want that extra image quality out of your iPhone, start learning how to grip the camera in a way that minimizes shake. The results may surprise you.